
Things to do before we get there.
There are a few things you should do before we arrive to replace your Windshield.
- Call your Insurance Company and Request Knight Auto Glass for your Auto glass Replacement.
- Remove all objects from your Dash (including Dash Matt).
- Remove all objects from the floor and seats of the driver & passenger sides.
- Park in a safe area that allows complete access to the vehicle.
- Remember you can’t wash your vehicle for 24 hours after Windshield replacement. So you might want to do that before we arrive.
Pre-Inspection
When we arrive we will perform a Pre-Inspection of your vehicle. We will check the car for prier damage in the areas we will be working on. This is to insure that we are both on the same page as to the condition of the car before we started working. We stand by our work and will always take care of the customer and their vehicle. We also expect the same level of honesty from you our customers, so please follow us when we do the Pre-Inspection so you can see everything for yourself! You will also be required to sign this form before we start working on your vehicle.
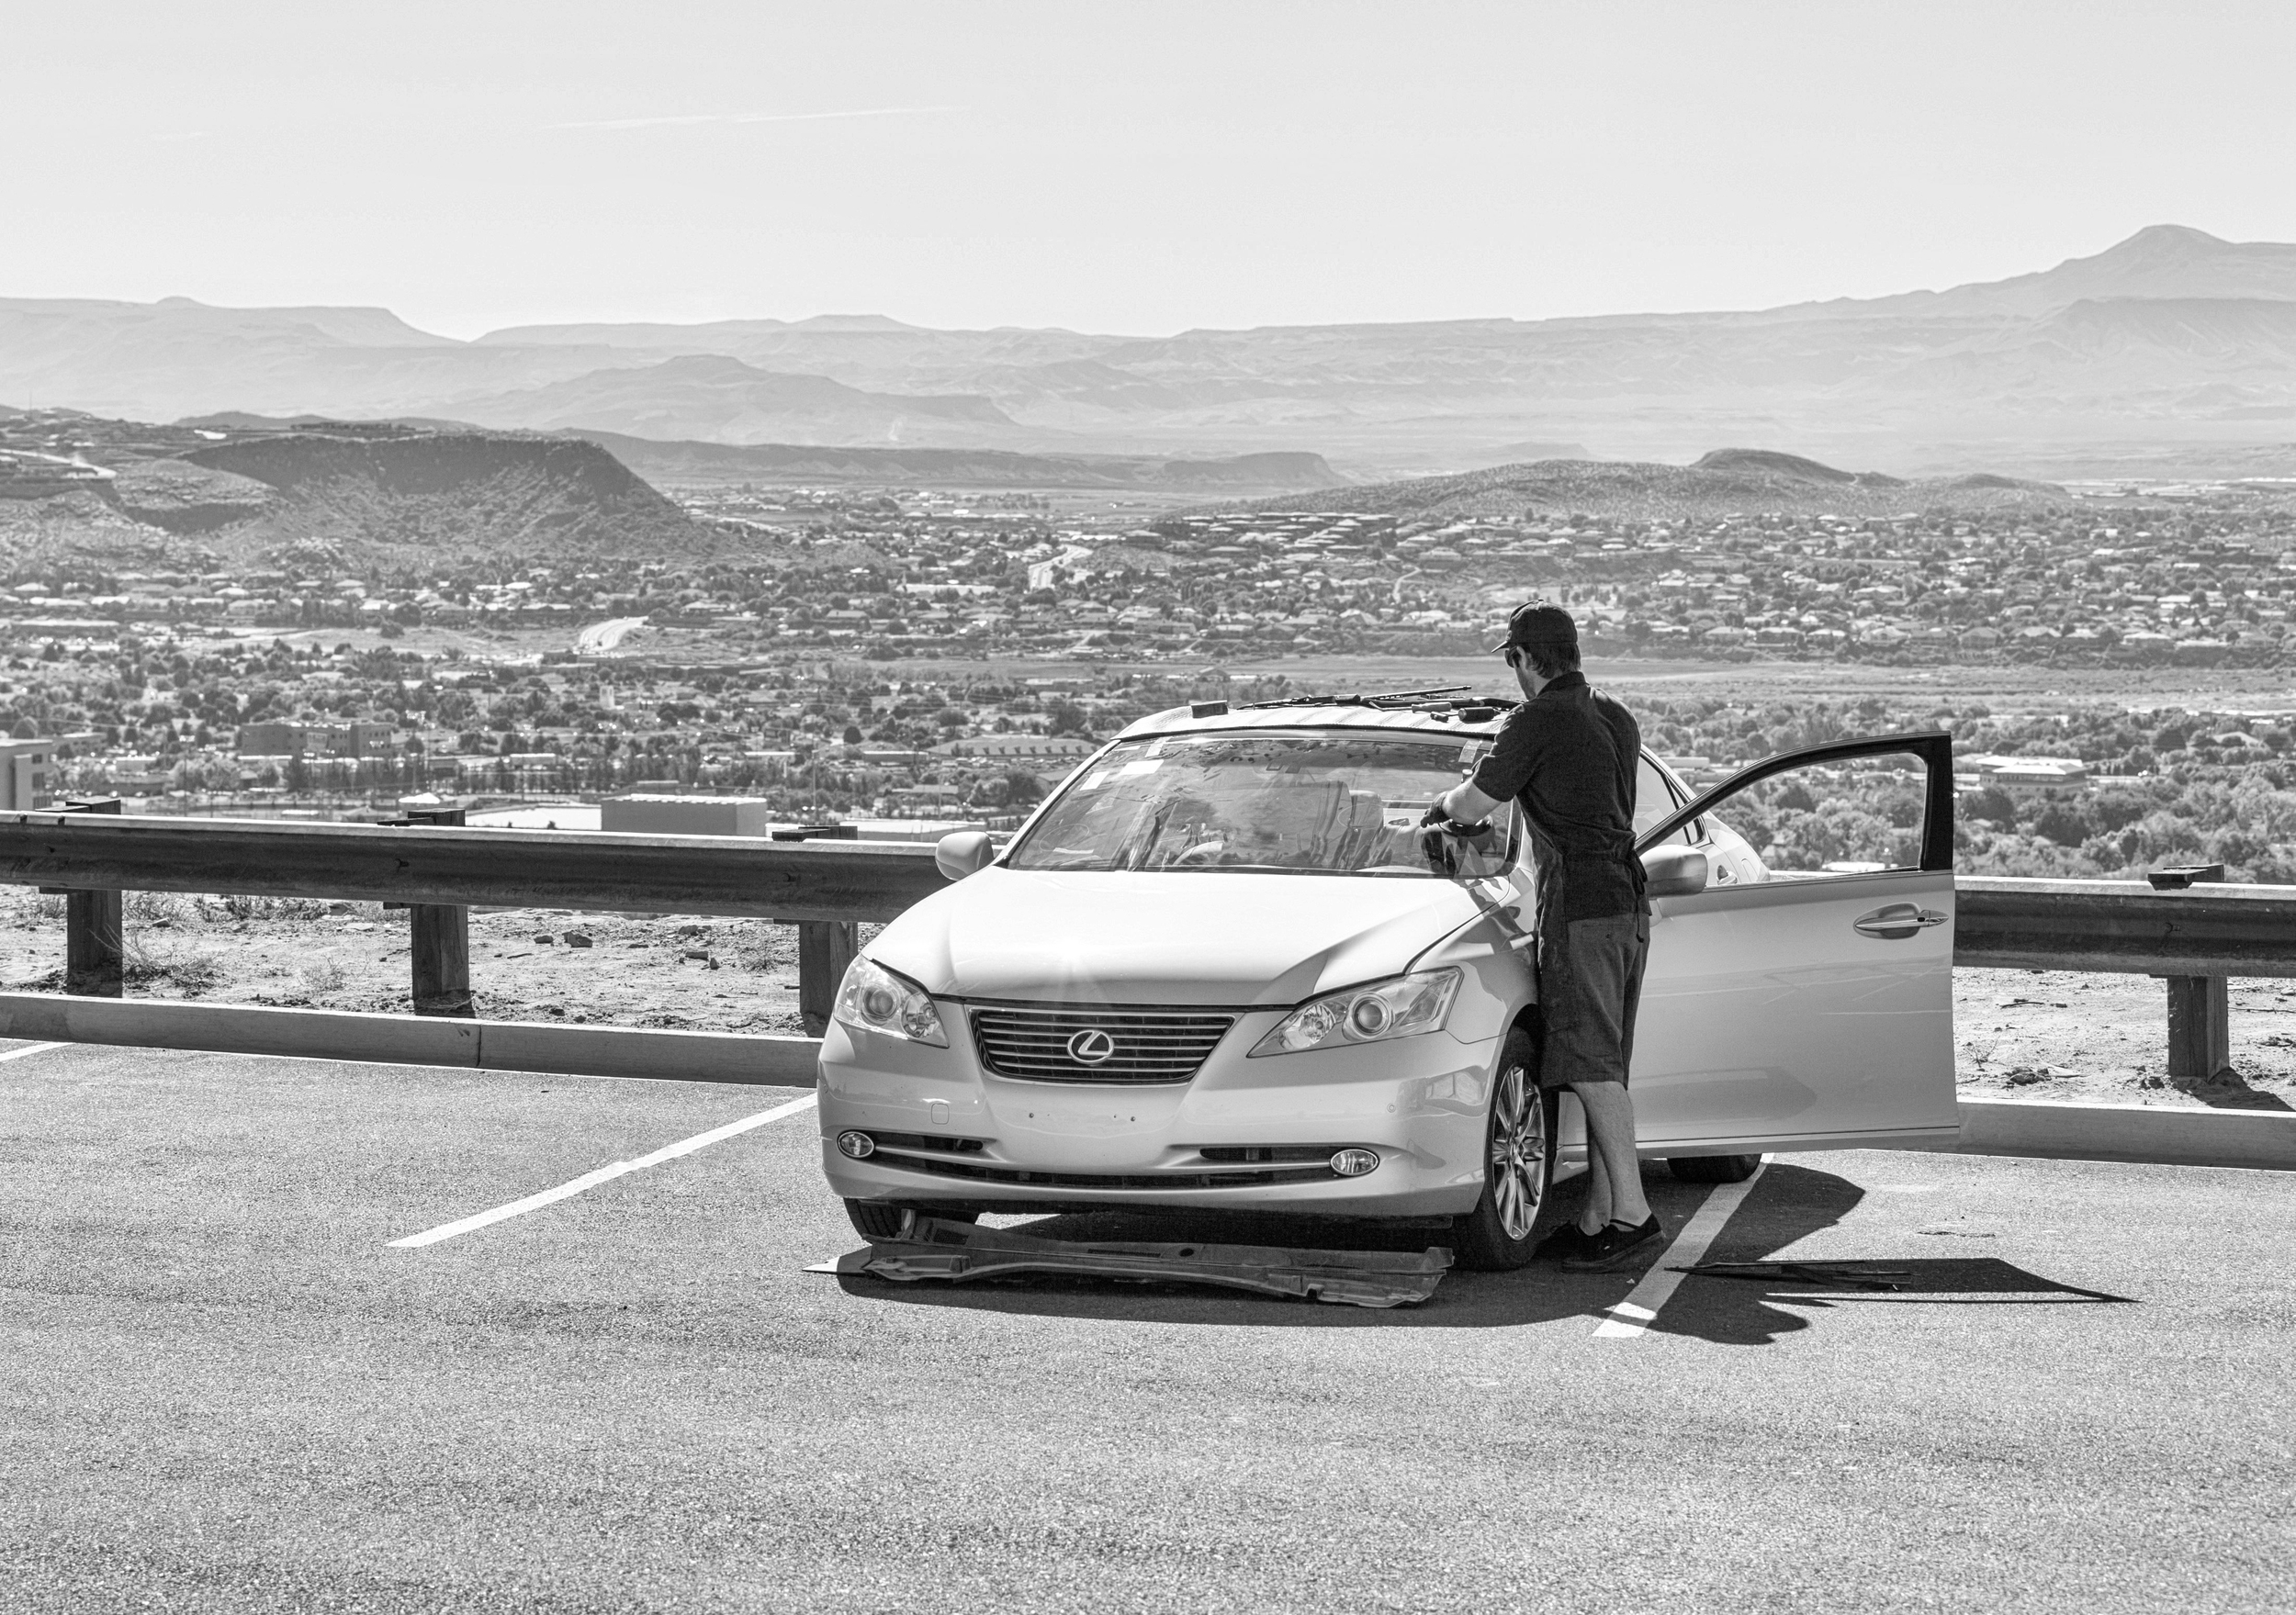
Pre-Windshield Removal
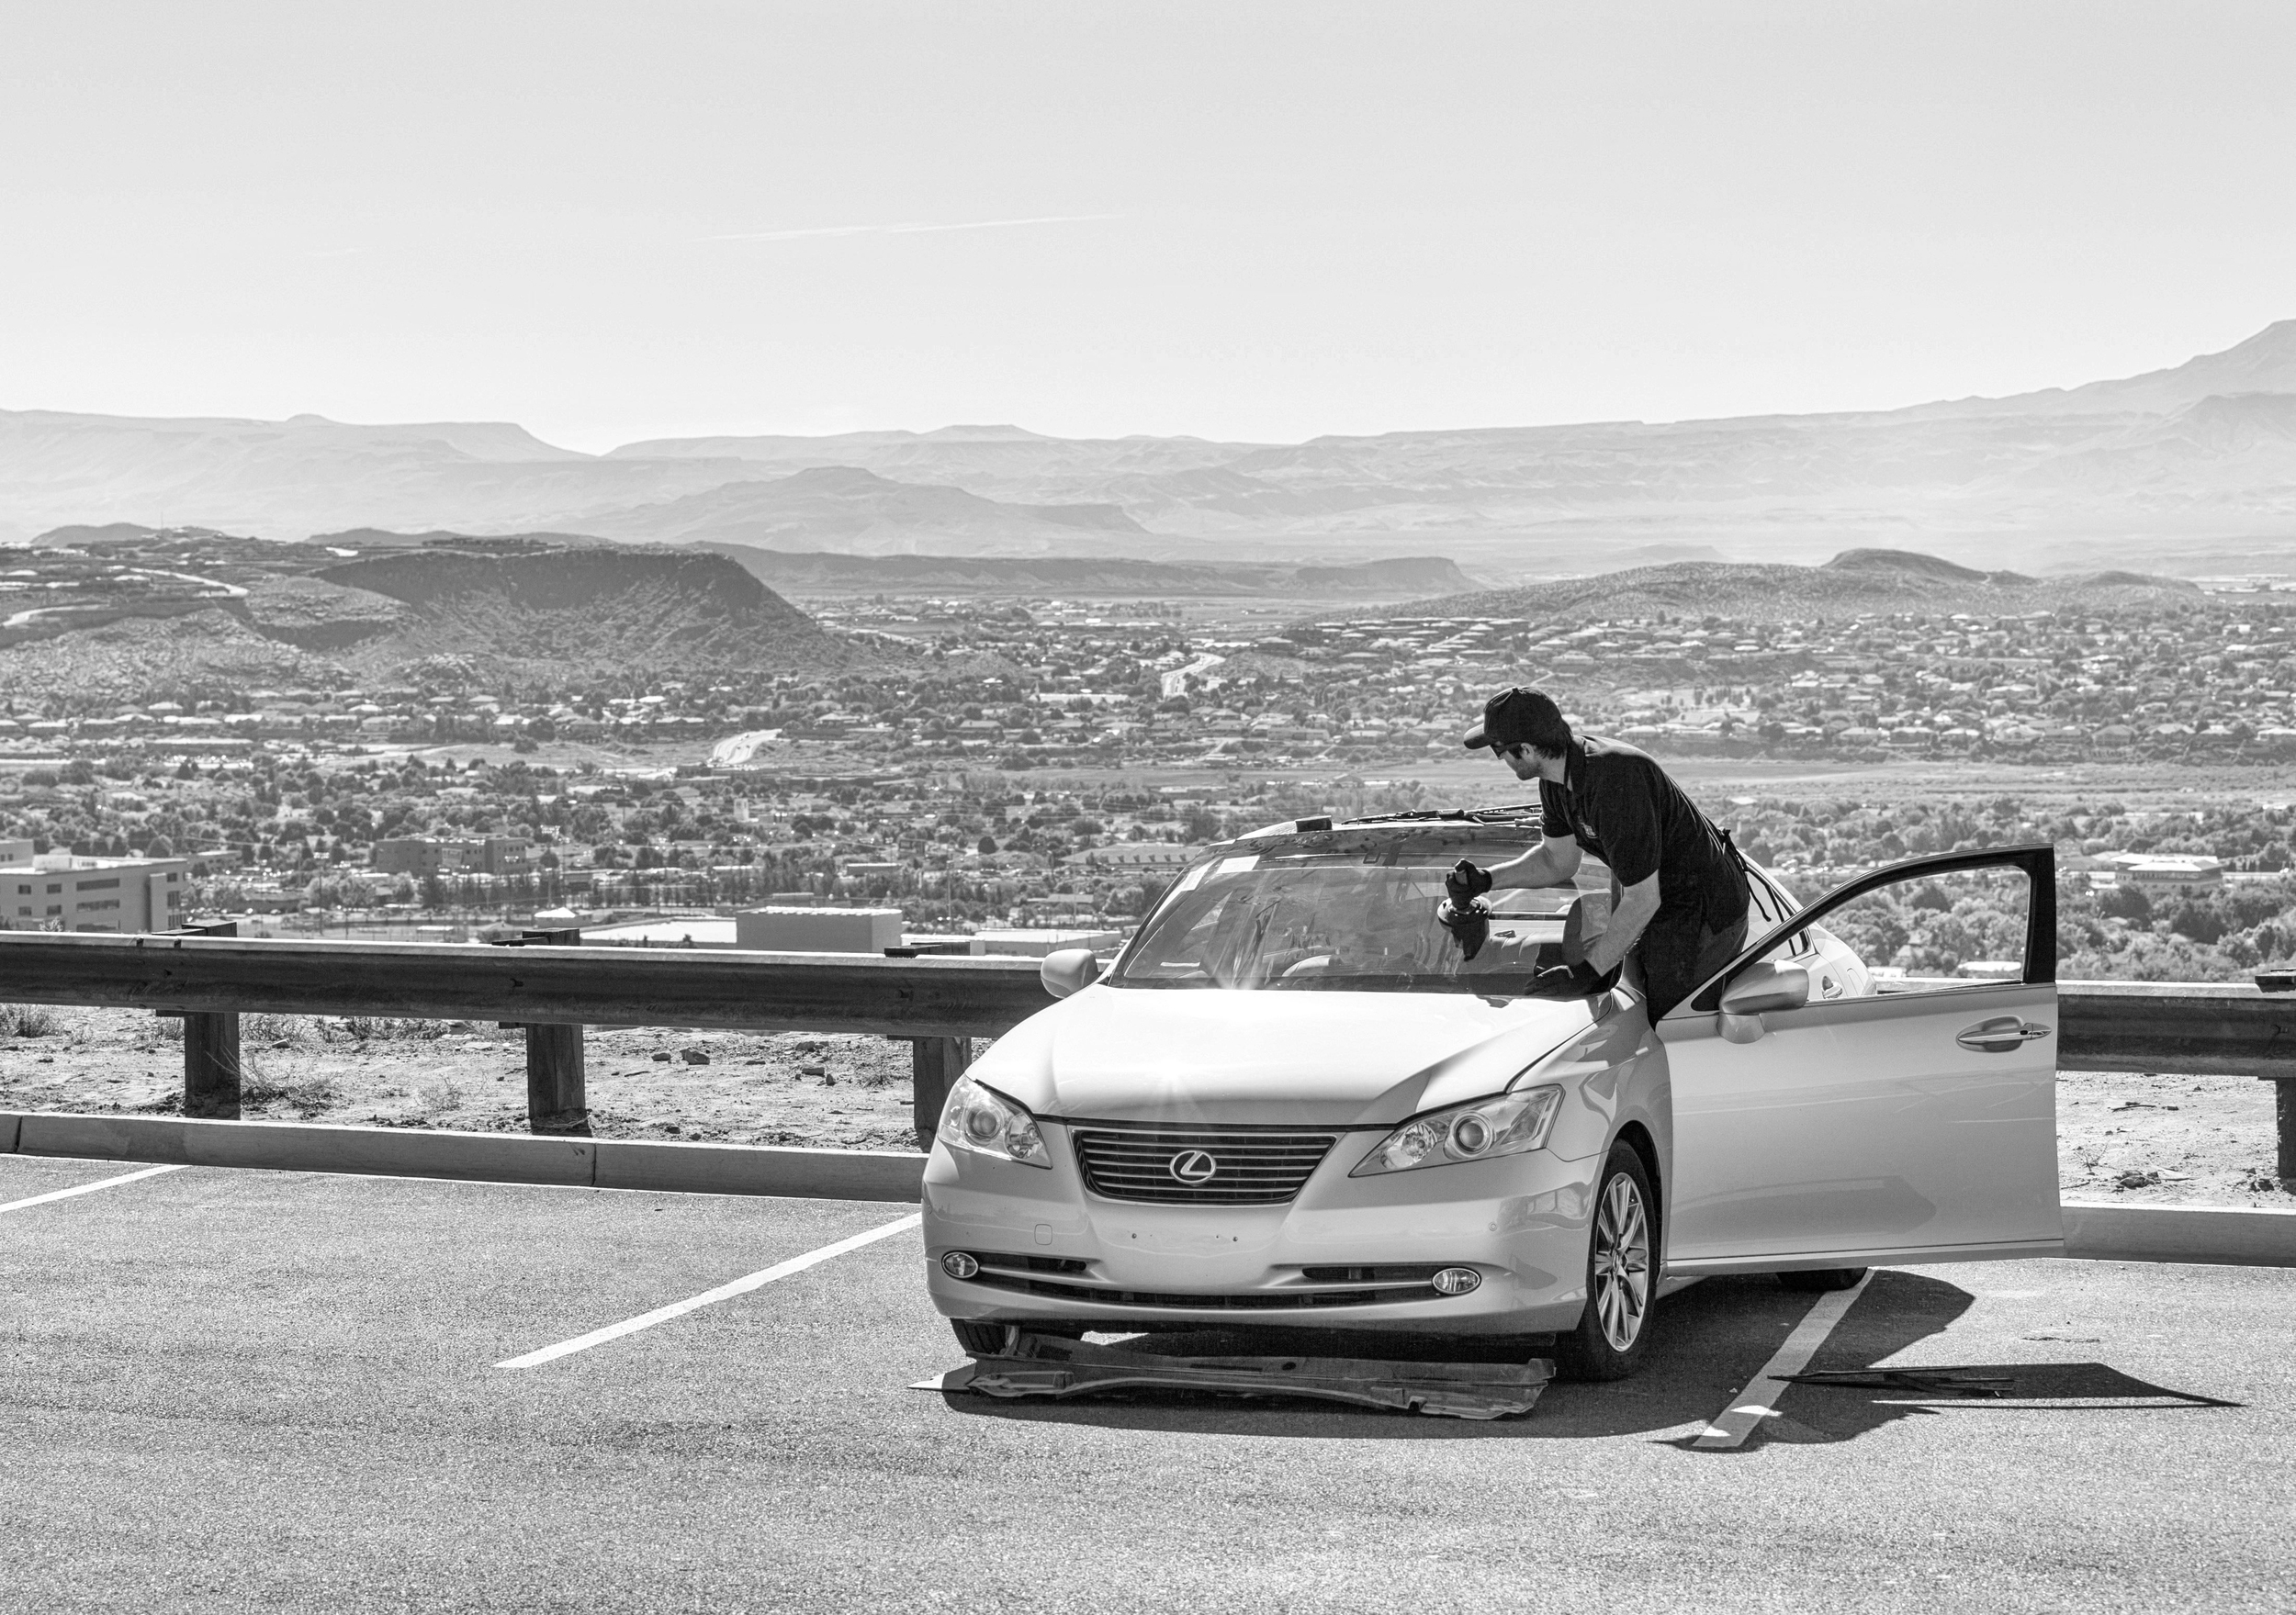
Removing a Windshield involves more then just cutting the old one out. In most cases we will have to remove moldings, screws, clips, wipers, bolts, mirrors, sensors & more. Some Auto Glass Technicians cut corners and leave some of these things in place. We at Knight Auto Glass feel that it is more important to take a few extra minutes and perform a Quality Installation rather then skip steps to get the job done faster. Even after we have removed and reinstalled all parts we still complete most jobs in under 1 hour.
The picture to the right is a Knight Auto Glass technician removing the Windshield Cowling. The Cowling is a large plastic piece found at the bottom of most Windshields. It serves to cover the Windshield Wiper motors and other components of your vehicle. If this is not removed the Technician will be forced to slide the New Windshield Under the Cowling during Installation. Sliding will lead to a poor install that could cause leaks and air noise.
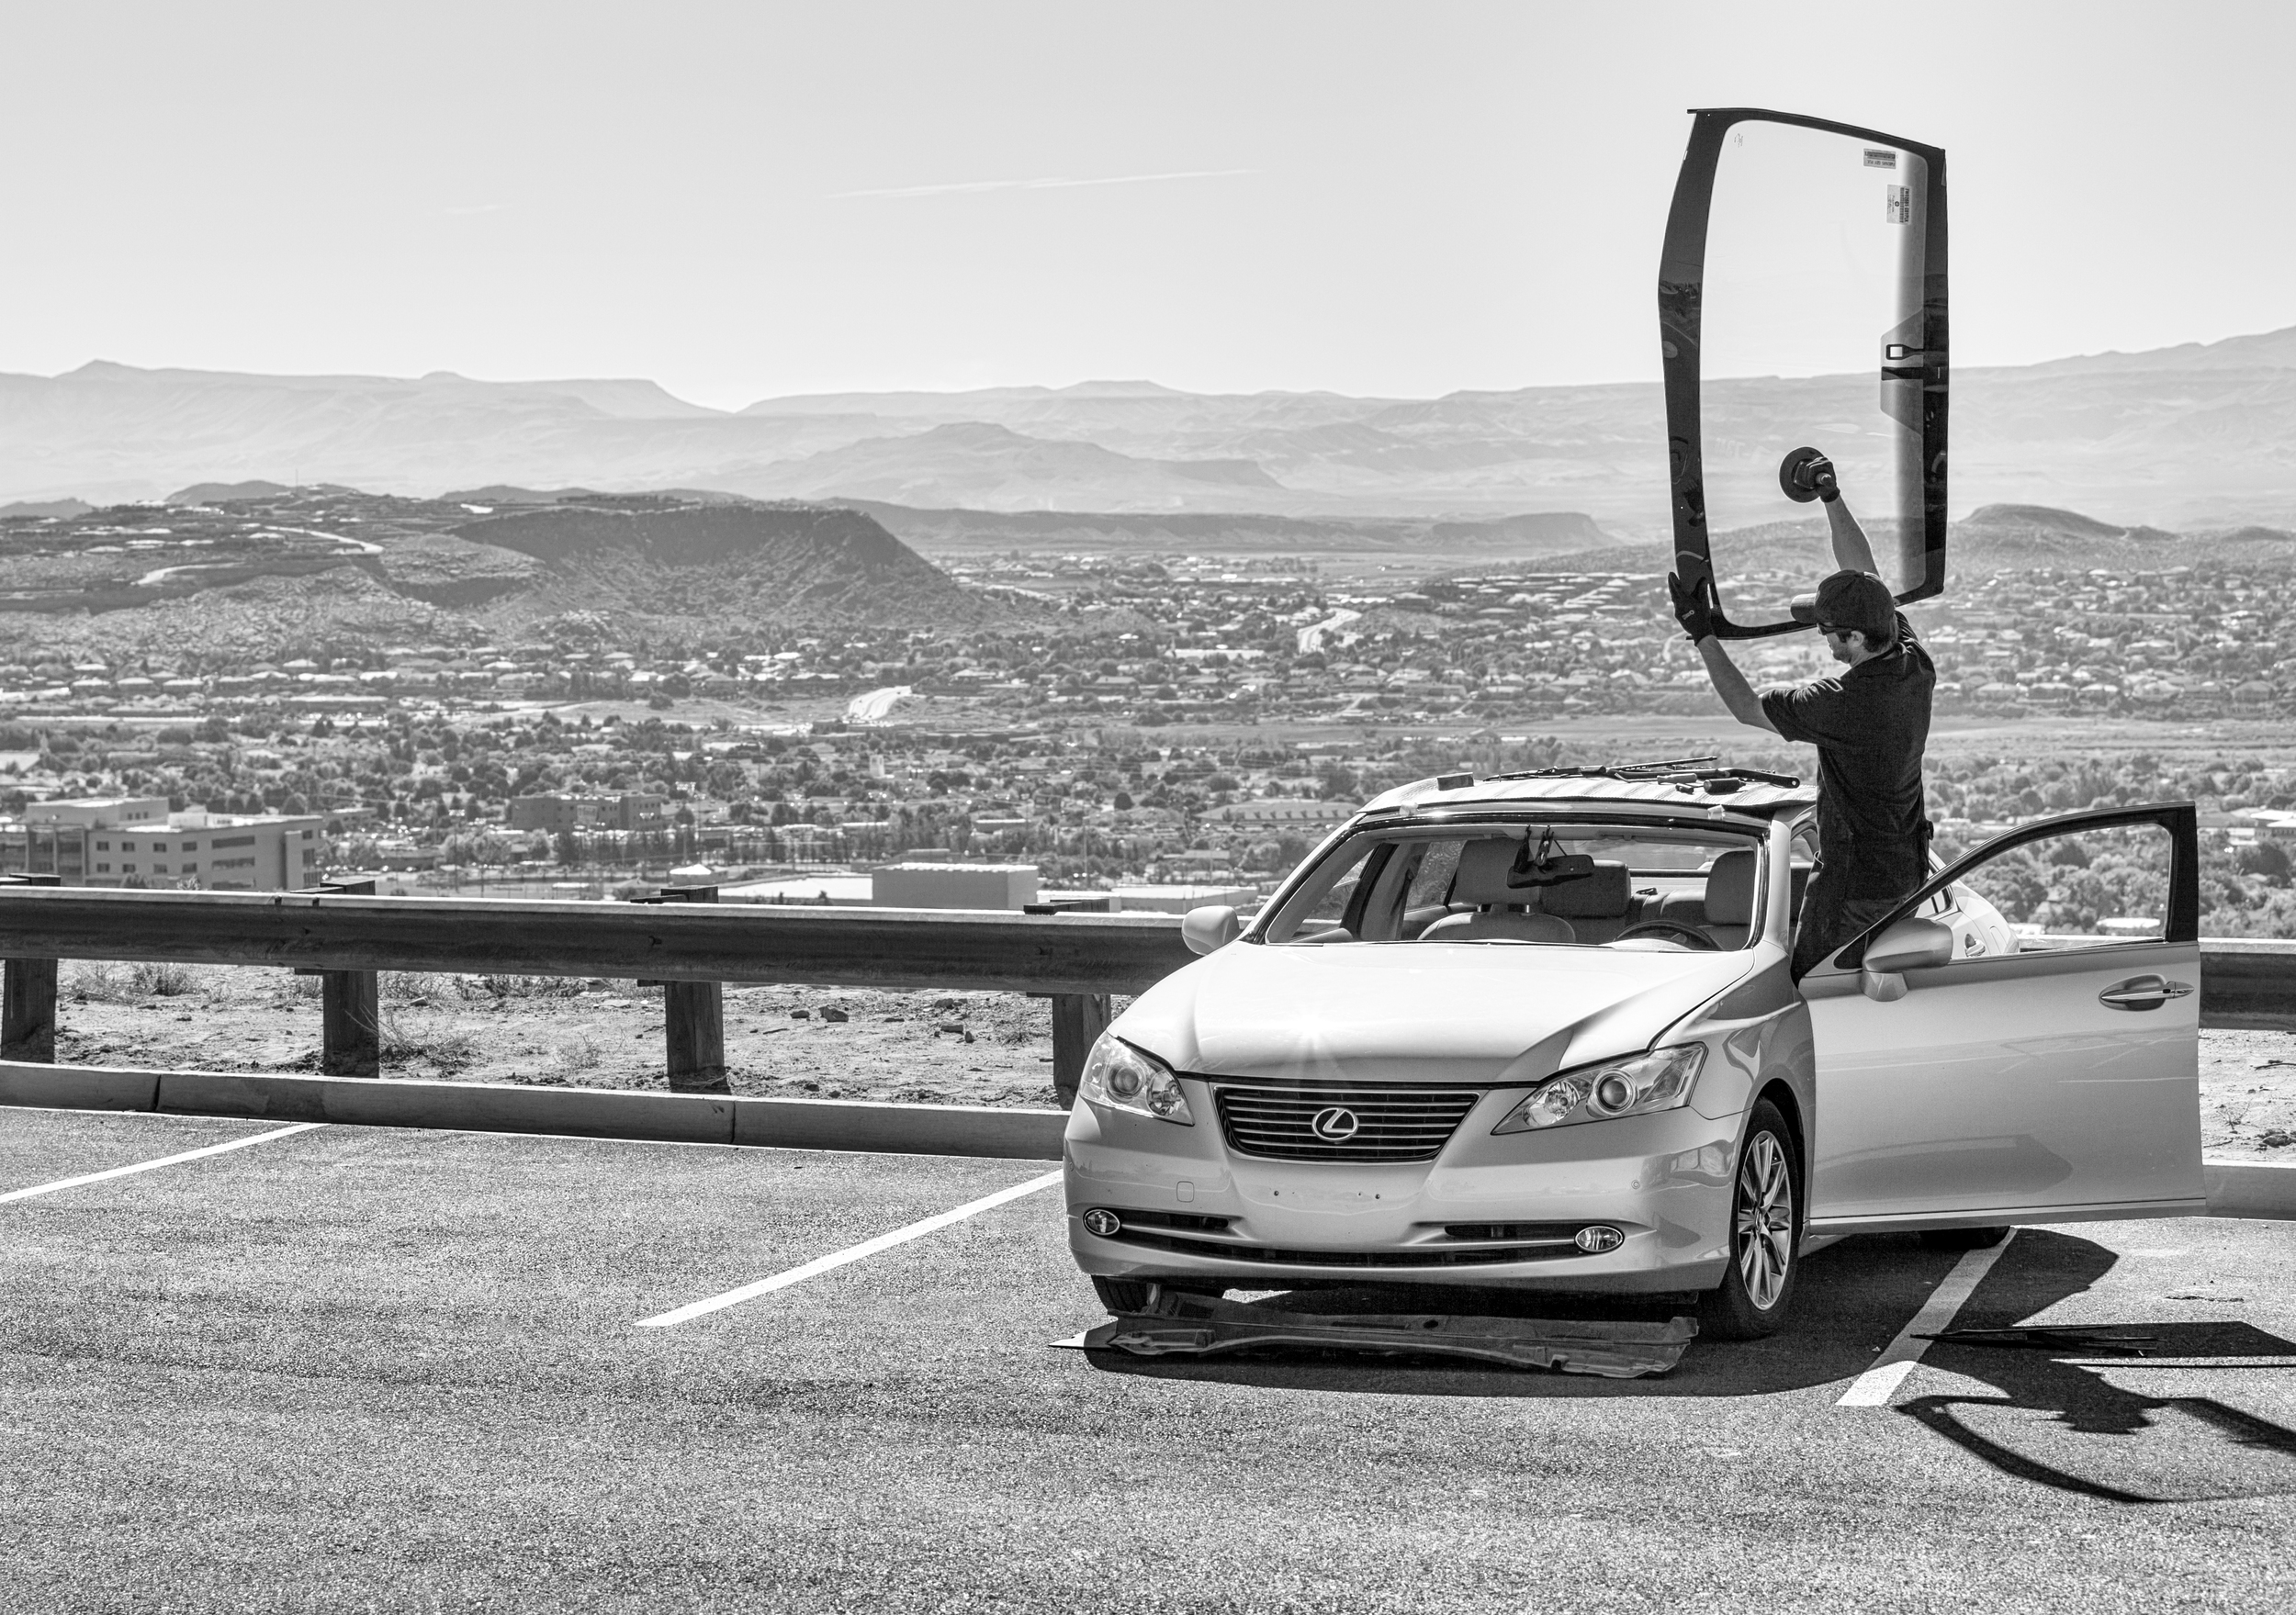
Removing the old Windshield

Cold Knife
Once all the moldings, clips, screws & Cowling are removed we can cut out the Windshield. Today we are lucky to have advance tools that make removing a Windshield much safer and easer. For the top and Sides of the Windshield it is common to use a Cold Knife. Here is a picture of a Cold Knife. It is designed to hook under the Windshield and cut the glue holding it in. It is Ideal for this application because it allows the Tech to cut out the Windshield without damaging the vehicle.
Below is a picture of a Knight Auto Glass Tech using a Cold Knife to safely cut out the sides & top of the old Windshield.
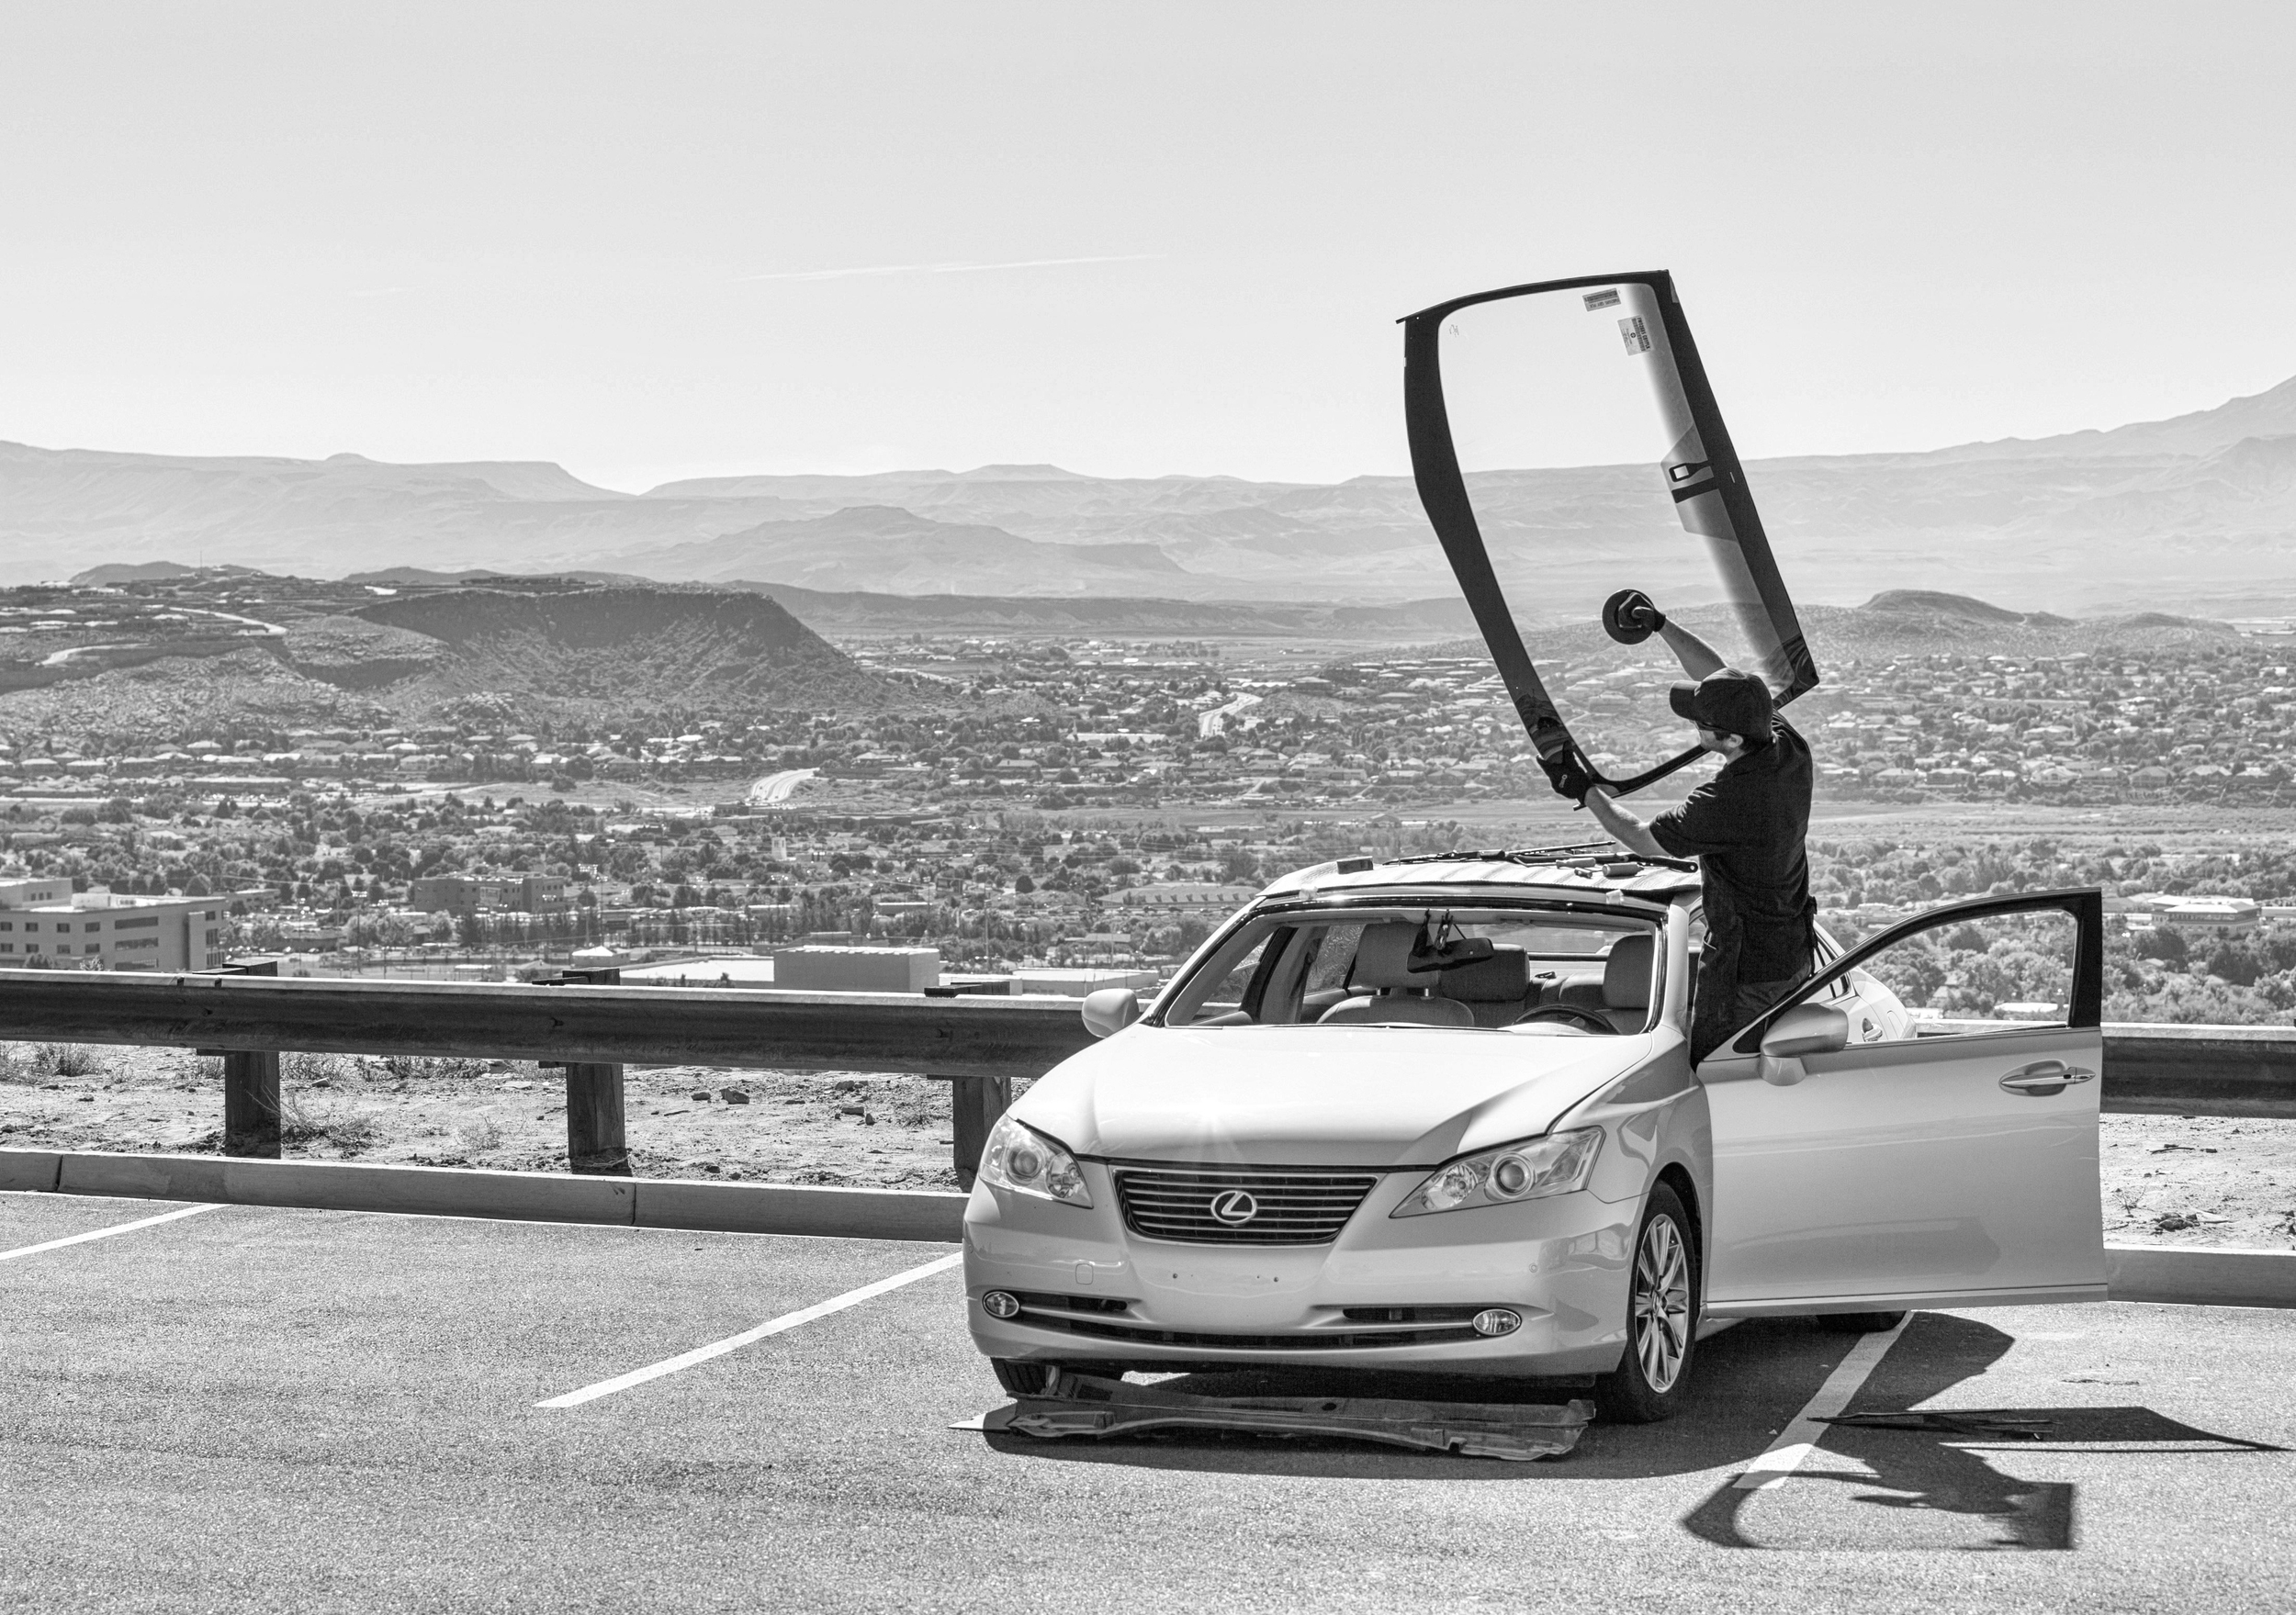
The Extractor
Once the top and sides of the Windshield are cut its time to cut out the Bottom section of the Windshield. This is done by using a modern tool called the Extrator. This tool was developed by a company in Alberta Canada. It is basically a Sawz-All with a flat blad attachment. It makes removing a Windshield faster and safer. Before the Extrator hit the shelves Auto Glass Technicians would sit inside the vehicle and push out on the Windshield with their head. While pushing it out they would use a Knife with a long handle to cut the glue. Over time this can cause serious back, neck and shoulder problems for the technician. The Extractor does the hard work for the tech!
Below is a picture of a Knight Auto Glass Tech using the Extractor to Remove a Windshield.
New Windshield Prep.
Once we have the old Windshield out we need to prep the Pinch weld. The Pinch Weld is the area where the Glue is bonded to the Body of the vehicle and to the Windshield. Here are the steps every Auto Glass Tech should follow when preparing a Vehicle for a new Windshield.
- Remove old Urethane
- Clean Pinch Weld of debris and dust
- Check Pinch Weld for Rust
- Clean Dash of debris and dust
- Prime Pinch Weld Scratches to prevent Rust and help Urethane bonding
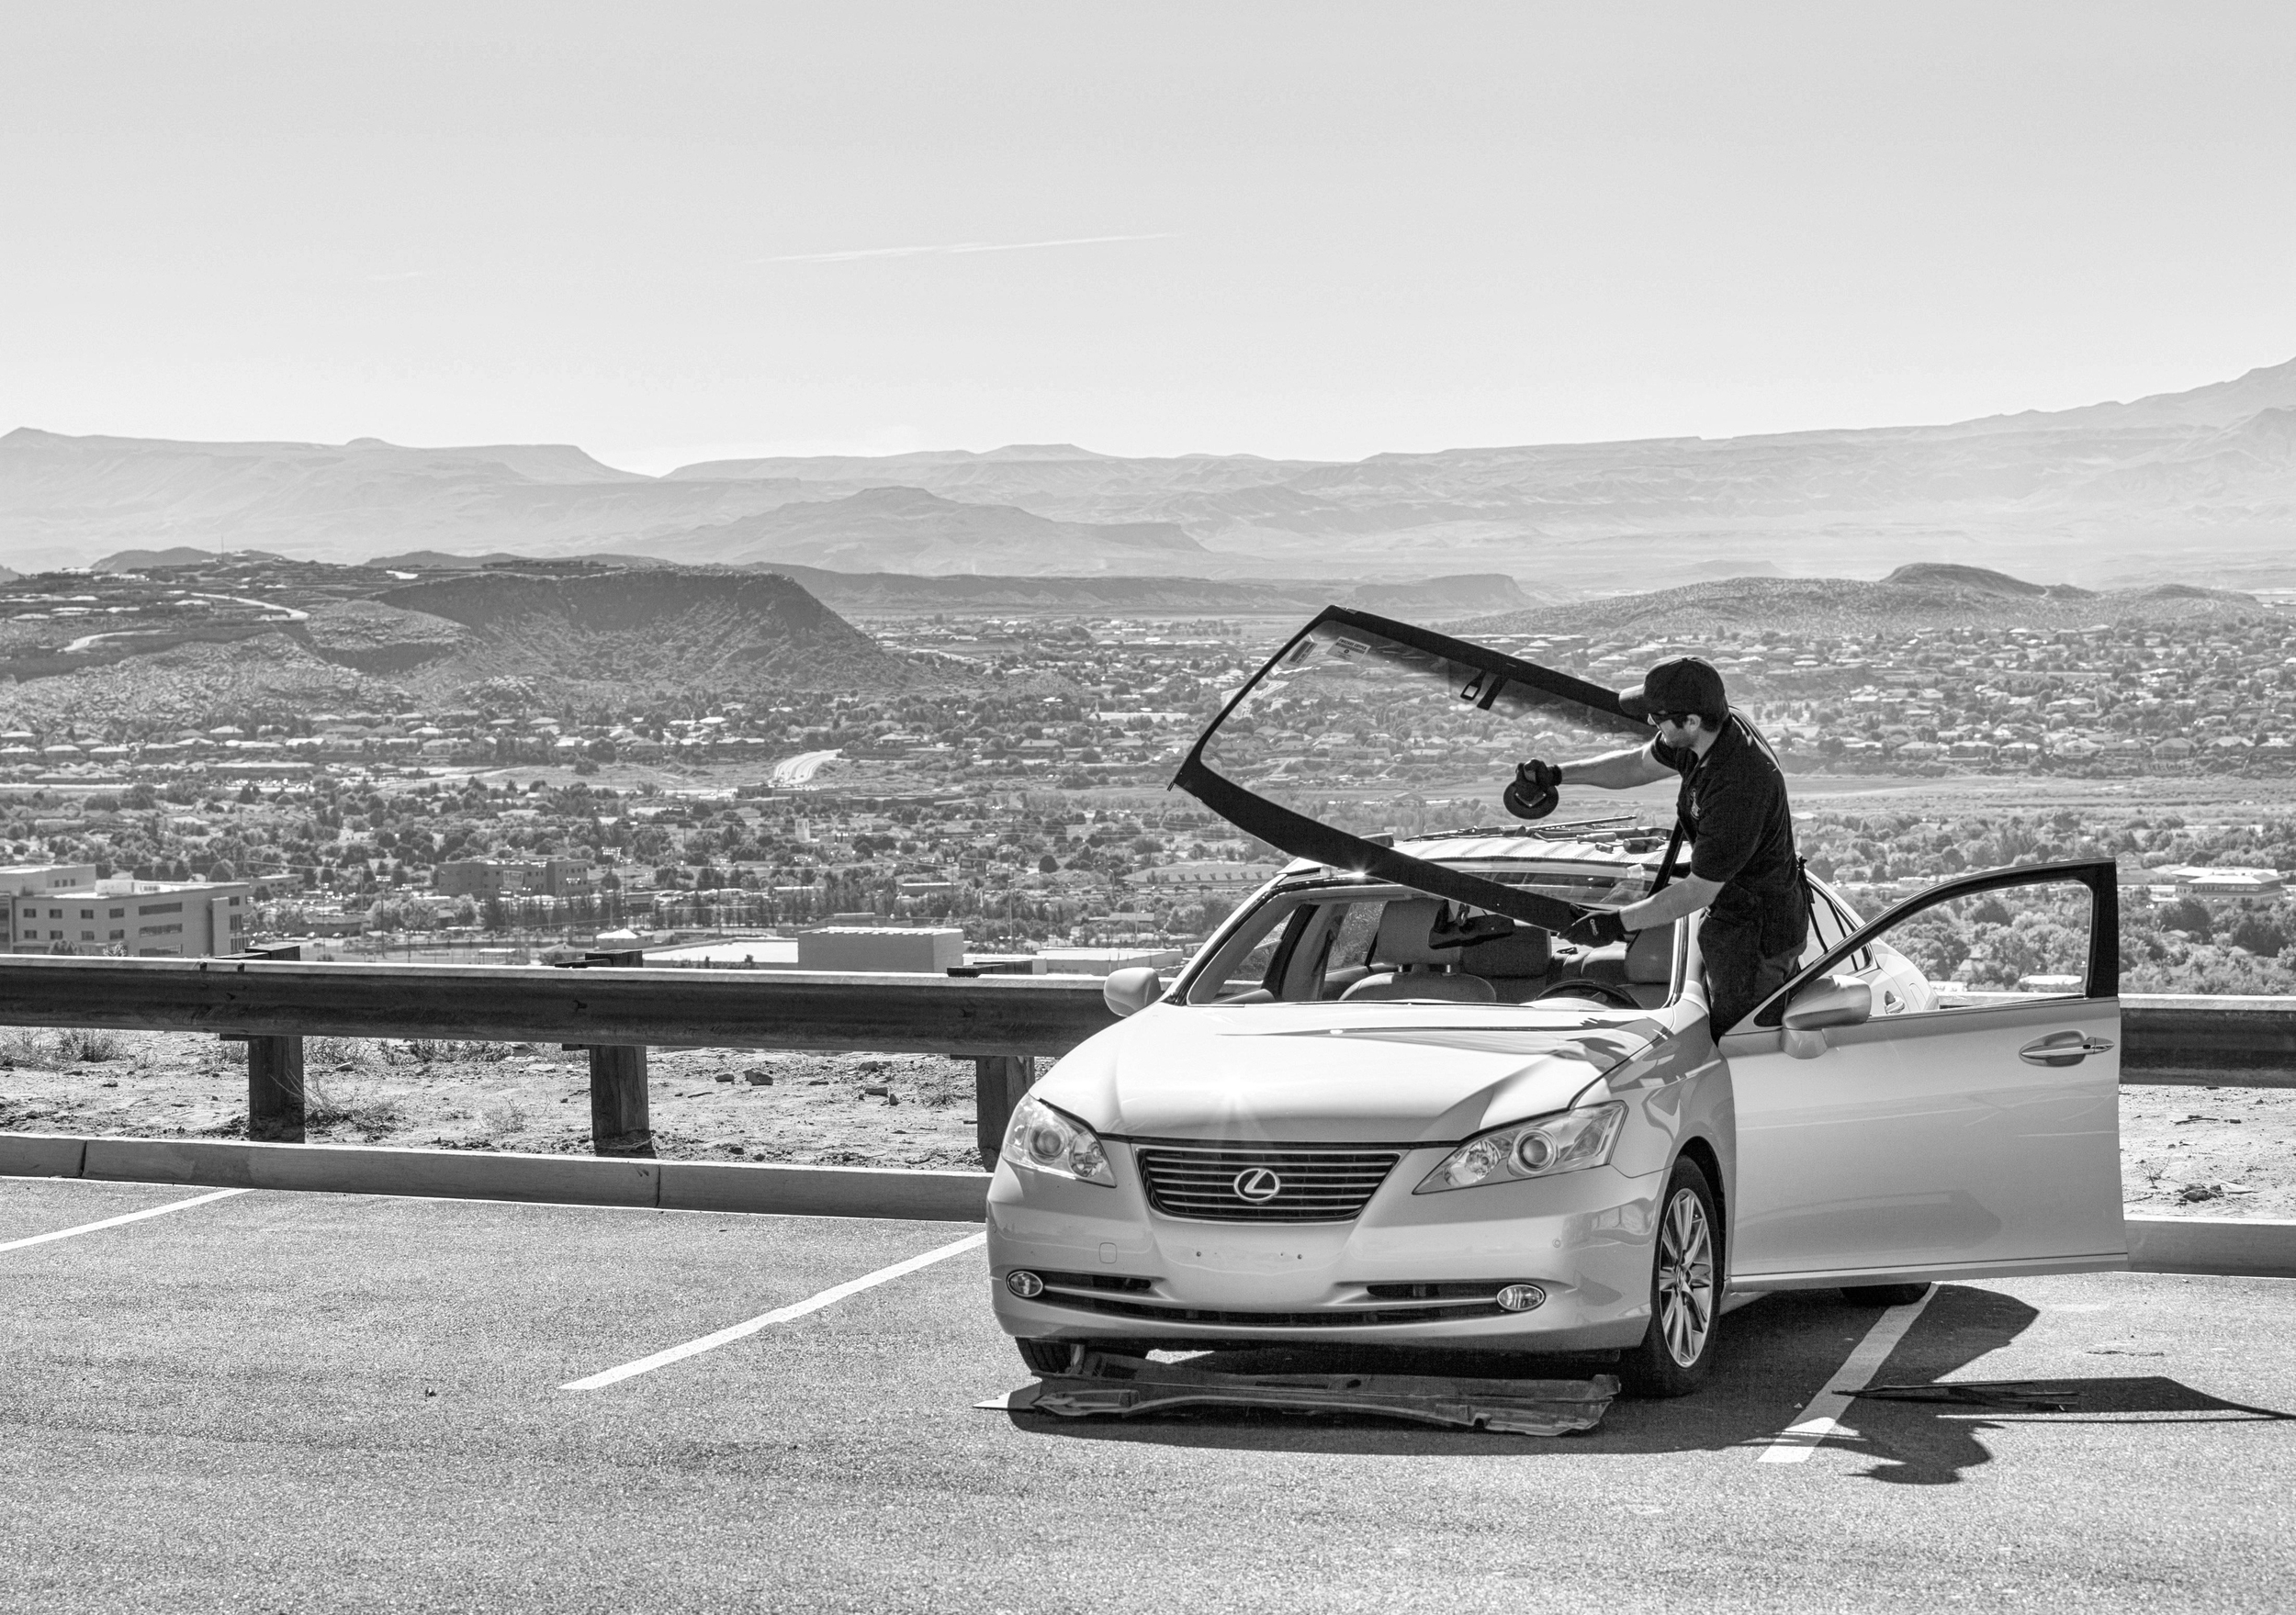
Priming the Pinch Weld
BetaPrimer for priming the Pinch Weld before Installation of New Windshield.
This is one of the most important pre-installation steps, and one of the most skipped by many Technicians. How do we at Knight Auto Glass know its being skipped by others? Its pretty easy to tell. The primer is black and when applied it leaves a big black mark! This is all covered by moldings and seals, so the customer would never know if it had or had not been primed unless they were watching the process. If skipped the small scratches made during Windshield Removal will start to rust. This is very bad. If the rust goes unchecked it can rust underneath the Urethane. Not only will this cause leaks and air noise but it makes your vehicle very unsafe. The Windshield is designed to to hold your Air bags in when they deploy. If the rust goes Underneath the Urethane, it will no longer be bonded to the body of your vehicle and the Windshield can come out if the vehicle is hit hard enough. Our Technicians estimate 3 out of 5 Vehicles they work on were not primed before installation! Please be careful who you take your vehicle to. Not all shops are created equal and put the same level of care into their work!
Below a Knight Auto Glass Tech is Priming the Pinch Weld before installing the New Windshield.
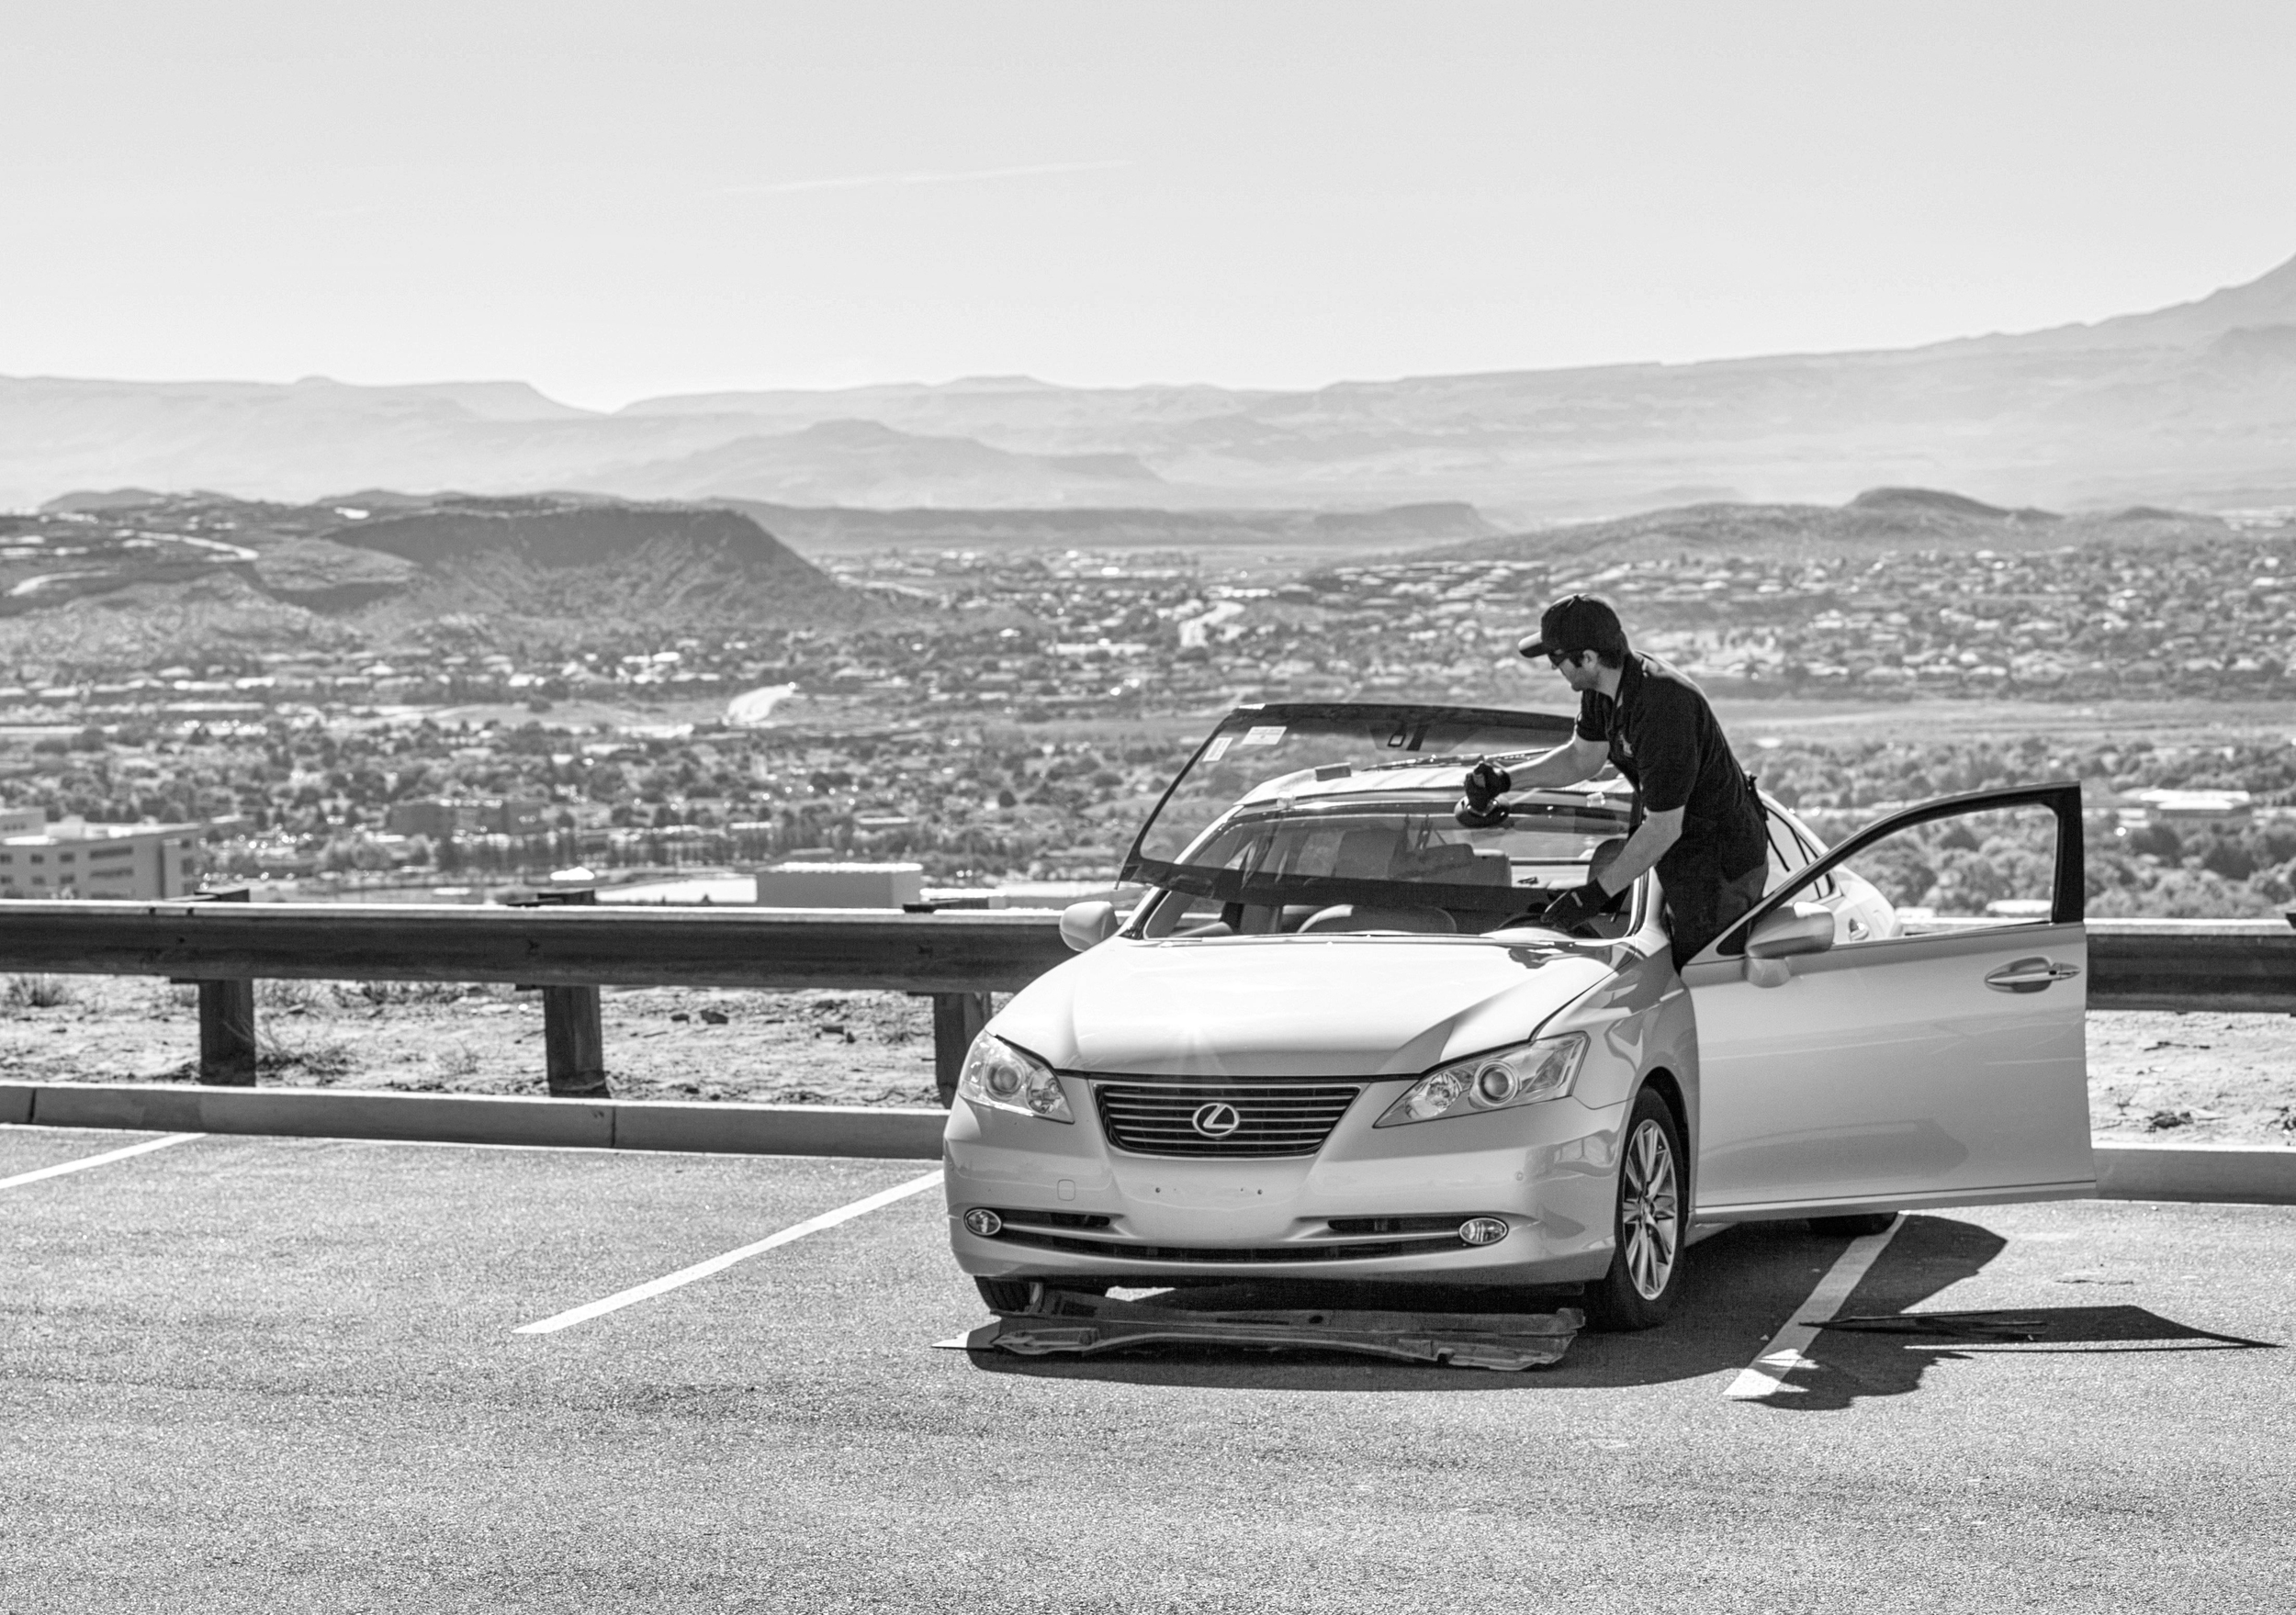
Prepping the Windshield
The New Windshield can be prepped before removing the old one or after. It just depends on the Tech. Getting the Windshield Ready for Installation is pretty simple. It involves a few steps.
- Attach Moldings if required
- Scrub are to be glued with cleaning pad
- Wash Windshield
- Prime the Windshield with Primer Designed for Glass
- Glue moldings to Windshield ( to prevent them coming off in the future)
Running the Urethane
At Knight Auto Glass we use only the best products on the Market. Right now we are using BETASEAL EXPRESS by Dow.
BETASEAL glass bonding systems are used to originally install auto glass in the majority of vehicles worldwide, making the adhesives the perfect choice when restoring windshield structures to the original strength and specification. All aftermarket BETASEAL adhesives are FMVSS crash proven and meet long-term durability requirements for structurally bonded/direct glazed automotive glass, such as windshields, backlites, quarter glass and other stationary glass.
It is a fast drying Urethane that has a safe drive time of 1 hour. This means you will only have to wait 1 hour before you can drive your vehicle again.Here is a Knight Auto Glass Tech running the new Urethane before installing the Windshield.
Installing the Windshield
Once the Urethane has been ran we are ready to install the Windshield. When we place the Windshield onto the new Urethane its called "setting" the Windshield. When you set the Windshield you have to be exact, if not there could be leaks and air noise. This is why we at Knight Auto Glass always remove the molding and cowling before setting the Windshield. This gives us plenty of room to set the Windshield in the right spot. It also means we don't have to worry about trying to slide the Windshield under anything to install it. Th
6" Suction Cup for Installing Windshields.
There are a few different ways to Set a Windshield. The most common method is to attach 1 or 2 suction cups to the Windshield and use them as handles. Most Installers use a 6" Concave Vacuum Cup with Vertical Handle. This suction cup can be placed anywhere on the Windshield to provide a strong grip.
Below is a slide show of a Knight Auto Glass Tech "setting" a Windshield.
Now that you have your new Windshield.
There are a few things you need to know before you drive your vehicle, now that you have a new Windshield.
- No Car Wash for 24 hours- A High pressured car wash may break the Seal of the Windshield causing leaks and air noise.
- Roll your Windows down at least 1 inch- This will reduce pressure on the Seal of the Windshield while the Urethane cures. If you have all the windows up and slam the doors it could force the Windshield to move and again cause leaks and air noise.
- Wait 1 hour before driving- This is for your safety. If you get in an accident your Air-bags will most likely deploy, if the Urethane hasn't had the proper time to cure, the force of the Air-bags will push the Windshield out. This will result in your Air-bags not doing their job. So please listen to your Tech and follow the Drive time given.
- Leave Tape in place for 24 hours- In some cases Tape is needed to hold the Windshield in place while the Urethane cures. Please leave the Tape on as directed. Removing it early might result in the Windshield sliding durring the curing process.
- Get new Whipper Blades- this is not required but a good idea. Whippers blades should be changed every 6 months. Since most people get a new Windshield every few years its usually a good Idea to change them!
Thanks for Choosing Knight Auto Glass
Thank you for making Knight Auto Glass your choice for Windshield Replacement. We hope this post was informative and fun to read. We strive everyday to help our customers see the difference between us and the other guys. If you have any questions regarding Auto Glass repair and replacement please call us at (435) 414-1776. Thanks For reading and we hope to see you soon!